Introduction
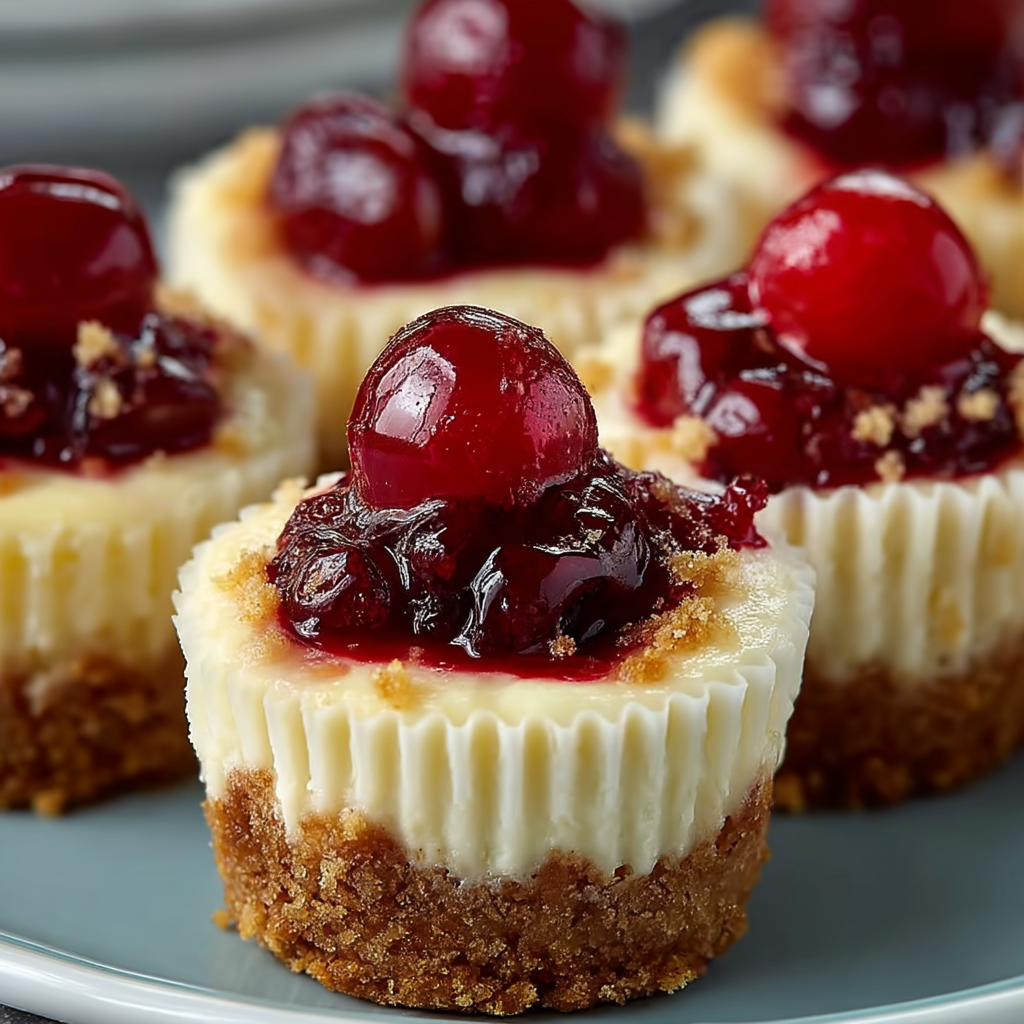
There’s something irresistibly charming about desserts that arrive in miniature form — each individual bite feeling like its own little celebration. These Mini Cheesecakes encapsulate all the lush, creamy richness of a classic cheesecake, yet they’re scaled down into sweet, personal portions. Whether for a gathering, a festive dessert table, or simply a treat to enjoy at home, these tiny cakes bring elegance, variety and comfort all at once.
From the buttery crumb crust to the smooth cheesecake filling, finished with your choice of toppings — each little cheesecake becomes its own canvas for flavor and presentation. They’re perfect for sharing, but you may find yourself keeping them all to yourself.
Why You’ll Love This Recipe
- Portion-perfect: Individual servings mean no slicing dilemmas and no second-helping guilt.
- Simplified baking: Easier than a full-sized cheesecake yet delivers the same creamy texture and rich flavor.
- Customizable: With a solid basic recipe, you can top each mini cheesecake with fruit, caramel, chocolate, whipped cream — let your creativity shine.
- Great for entertaining: Mini desserts look sophisticated, travel well, and let guests sample different flavors without committing.
- Make-ahead friendly: You can bake ahead and chill until ready to serve, making your life easier when hosting.
Ingredients (makes about 12 mini cheesecakes)
For the crust:
- ~1 cup (≈ 120 g) graham-cracker crumbs (or similar plain sweet biscuit crumbs)
- ~3 tablespoons (≈ 40 g) granulated sugar
- ~3½ tablespoons (≈ 50 g) unsalted butter, melted
For the cheesecake filling:
- 16 oz (≈ 452 g) full-fat cream cheese, at room temperature
- ~⅓ cup (≈ 80 g) sour cream, at room temperature
- ½ cup (≈ 100 g) granulated sugar
- 1 teaspoon pure vanilla extract
- 2 large eggs, at room temperature
Optional toppings:
- Fresh berries (strawberries, raspberries, blueberries)
- Chocolate ganache or caramel sauce
- Whipped cream or a dollop of sour cream
- Crushed cookies, chopped nuts, citrus zest
Step-by-Step Instructions
1. Prepare the crust
Preheat your oven to ~325 °F (~163 °C). Line a 12-cup muffin pan with paper liners and set aside.
In a mixing bowl, stir together the graham-cracker crumbs and sugar. Pour in the melted butter and mix until the crumbs are moistened and resemble “wet sand”. Divide the mixture evenly among the paper liners and firmly press it into the bottom of each cup to form a compact base. Bake for about 5 minutes, then remove from the oven and set aside while you prepare the filling.
2. Make the cheesecake filling
In a large mixing bowl or stand-mixer, beat the cream cheese and sour cream until smooth and creamy. Add the sugar and vanilla extract; mix until fully combined and the mixture is silky. Then add the eggs one at a time, mixing on low speed each time until just incorporated — avoid over-mixing, which can introduce too much air and cause cracking.
3. Fill and bake
Divide the cheesecake filling evenly among the prepared crusts, filling each about three-quarters full or more depending on how high you like the mini cakes. Bake in the preheated oven (~325 °F) for about 17-20 minutes or until the edges are set and the centers just slightly jiggle when gently tapped. Then turn off the oven and leave the door closed for ~10 minutes (this helps prevent the tops from cracking).
4. Cool and chill
Remove the pan from the oven and place on a wire rack to cool for ~45 minutes or until at room temperature. Once cooled, transfer the mini cheesecakes (still in the liners) to the refrigerator and chill for at least 2-3 hours (or overnight) until firm.
5. Top and serve
When ready to serve, remove the liners (or serve in the liners), place the mini cheesecakes on a platter or individual plates. Add your chosen toppings: for example, a swirl of whipped cream and fresh berries; a drizzle of chocolate or caramel; or chopped nuts and citrus zest. Serve cold and enjoy that delightful bite-sized indulgence.
Tips & Tricks
- Always bring your cream cheese and eggs to room temperature — this helps achieve a smooth, lump-free filling.
- Use full-fat cream cheese and sour cream for best texture and flavor; low-fat versions may compromise the creaminess.
- Be gentle while mixing — over-mixing introduces air, which can lead to cracks or unwanted texture.
- If you notice your crust isn’t tightly packed, the mini cakes may collapse or leak slightly; pressing the crust firmly helps maintain structure.
- Let the mini cheesecakes fully chill before serving; the cold resting helps them set perfectly and enhances flavor.
- Want extra flair? Use appropriate sized liners for “super-mini” versions (double the yield) — great for large gatherings or dessert buffets.
Variations & Options
- Flavor twists: Add lemon or orange zest to the filling for citrus brightness; stir in a bit of cocoa or melted chocolate for rich chocolate versions.
- Topping ideas: Fruit compotes (blueberry, strawberry), salted caramel, ganache, chopped nuts, toasted coconut, cookie crumbs, fresh mint.
- Crust alternatives: Replace graham-cracker crumbs with crushed digestive biscuits, vanilla wafers, Oreo crumbs (for a chocolate crust), or gluten-free cookie crumbs.
- No-bake version: Some recipes skip the oven entirely and chill the cups until firm — ideal for hot days or when you want minimal baking fuss.
- Dietary adaptations: Use gluten-free cookies for crust, or lighter cream-cheese options if you’re aiming for reduced-fat (though texture may be less rich).
Frequently Asked Questions (FAQ)
How do I know when the mini cheesecakes are done baking?
The edges should appear set and slightly firm; the center should still wobble just a bit when you gently tap the pan. They’ll continue to set as they chill.
Can I make these ahead of time?
Yes — these mini cheesecakes are ideal for preparing in advance. Bake and chill them ahead of your event; add the toppings just before serving to keep everything looking fresh.
How long will they keep?
Stored in an airtight container in the refrigerator, they will keep for up to about 4-5 days.
If freezing: once fully chilled, you can wrap each in plastic and freeze for several months; thaw overnight in the fridge before topping and serving.
Can I double the recipe?
Absolutely — the recipe scales well. Just double the ingredients and use two muffin pans, or bake in batches.