Introduction
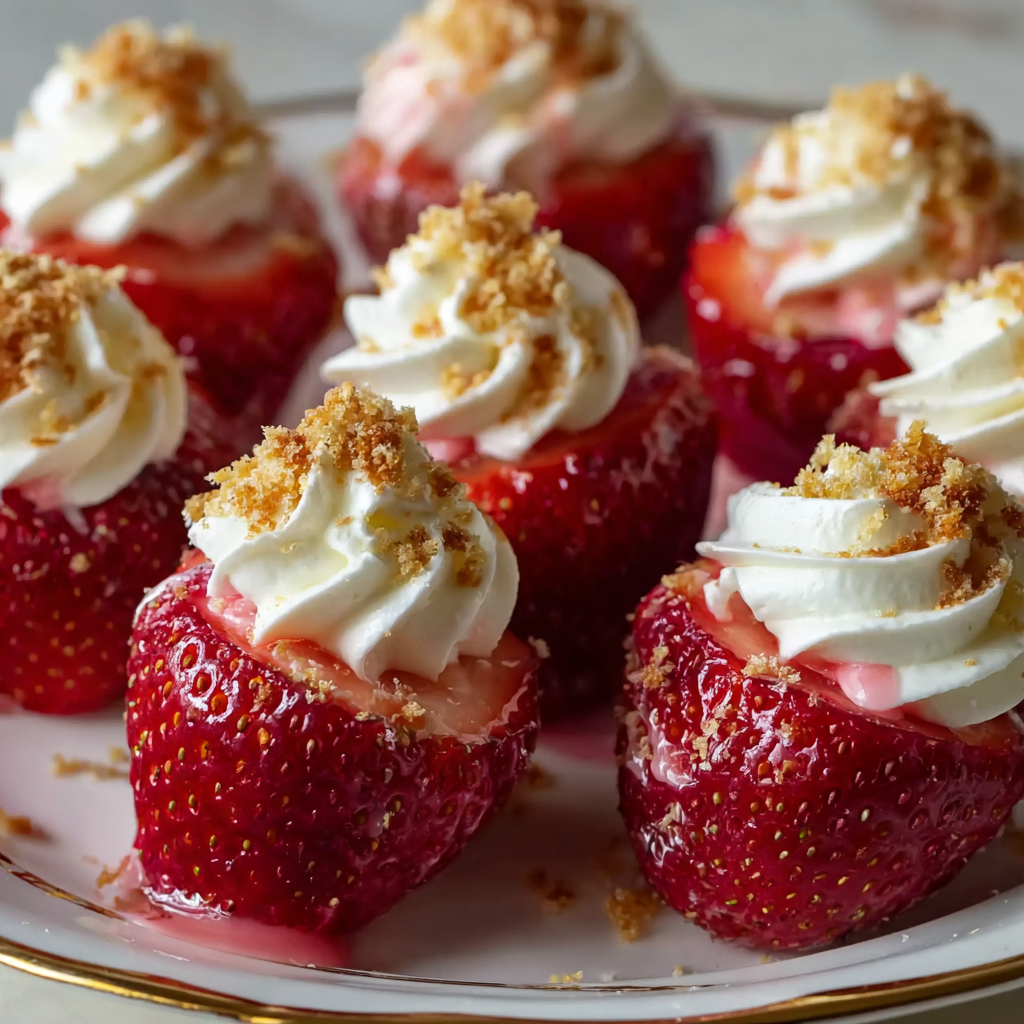
Imagine a summer-strawberry bursting with juicy brightness, its red flesh giving way to a silky-smooth cheesecake-style filling, crowned with the crunch of graham-cracker crumbs. These Cheesecake Deviled Strawberries are small in size but grand in flavor. They take the beloved essence of strawberry-cheesecake and distill it into a single, elegant bite. Whether you’re planning a brunch, a party platter, or a cozy dessert for two, this treat combines freshness, creaminess, and charm in one delightful package.
Why You’ll Love This Treat
- No oven required: Except maybe for one short chill, this is a no-bake wonder — easy, quick, and fuss-free.
- Visual appeal: The vibrant red strawberries filled with white cheesecake mixture and topped with golden crumbs make a gorgeous presentation.
- Burst of flavor: The contrast of juicy fruit, creamy tang, sweet sugar and crunchy topping hits multiple textures and taste zones.
- Versatile & shareable: Perfect for dessert tables, aperitif-style treats, children’s snacks, or elegant gatherings.
Ingredients (for roughly 20–25 filled halves, depending on berry size)
- ~20–25 large fresh strawberries (choose firm, ripe berries)
- 8 oz (≈ 225 g) cream cheese (softened)
- ~1 cup heavy whipping cream (or adjust per recipe version)
- ⅔ – 1 cup confectioners’ sugar (powdered sugar) or granulated sugar depending on preference
- 1 tsp vanilla extract
- Optional: 1 Tbsp fresh lemon juice or a bit of lemon zest for brightness
- Topping: ~½ cup graham cracker crumbs (or crushed cookies) for a cheesecake-crust effect
Step-by-Step Instructions
1. Prepare the strawberries
Wash the strawberries gently and dry thoroughly. Choose large berries so there is room for filling.
Cut each strawberry in half lengthwise (from stem to tip) — you may leave the stem attached if you like the “handle” look
To help them sit flat and stable: slice off a small sliver from the rounded back of each half so it doesn’t roll on your platter.
Use a small melon-baller or paring knife to carve out a small hollow or “well” in the center of each strawberry half — enough to hold the filling.
2. Make the cheesecake filling
In a mixing bowl (or stand mixer), beat the softened cream cheese until smooth and creamy. Add in the sugar and vanilla (and lemon juice/zest if using). Continue until well-blended.
In a separate bowl, whip the heavy cream until stiff peaks form (this gives lightness). Gently fold the whipped cream into the cream-cheese mixture until smooth and uniform.
3. Fill the strawberries
Transfer the cheesecake filling to a piping bag (or a plastic bag with a corner snipped) for neat presentation. Pipe the filling into each hollowed strawberry half, allowing it to dome slightly.
Immediately sprinkle or top each filled strawberry with the graham-cracker crumbs for texture and that cheesecake crust mimic.
4. Chill & Serve
Place the filled strawberries on a serving platter and refrigerate for 10–30 minutes (or until slightly firm), so they hold shape and the filling sets.
Best served chilled, and ideally within the same day for maximum freshness.
Serving Suggestions
- Arrange on a pretty dessert tray or deviled-egg style platter for a party—they look like elegant little hors d’oeuvres.
- For extra flair: drizzle a little melted chocolate or caramel over some of them to create variety.
- Pair with fresh mint sprigs or edible flowers for visual impact.
- Great for buffet-style events: guests can pick up a single berry for a perfect bite of dessert.
Tips & Tricks
- Size matters: Choose large strawberries so the filling doesn’t overwhelm the berry or collapse.
- Dry them well: After hollowing the berries, place the halves cut-side down on a towel to drain moisture — this helps prevent watery filling and sogginess.
- Softened cream cheese is key: If it’s still chilled or lumpy, the filling won’t be smooth and will take longer to mix.
- Timing: Fill the strawberries not too far ahead of serving — as the berry sits, it may release juices and soften the shell, reducing structural integrity.
- Make-ahead component: You can prepare the filling a day ahead and keep refrigerated; wait to fill strawberries until just before serving.
- Presentation tip: Use a star piping tip for a pretty swirl of filling, and ensure each berry sits flat and upright for the best look.
Variations & Options
- Flavor twist: Add a teaspoon of almond extract instead of vanilla for a different note; or stir in a bit of cocoa powder for a “chocolate cheesecake” version.
- Toppings swap: Instead of graham-cracker crumbs, use crushed shortbread cookies, chopped nuts, or even freeze-dried strawberry bits for color and crunch.
- Mini version: Use smaller berries and a smaller piping tip for bite-sized mini versions — perfect for kids or snack platters.
- Fruit swap: If strawberries aren’t in season, you might hollow halved peaches or large cherries and adapt the filling accordingly (though you’ll lose the stem “handle” look).
- Vegan or lighter version: Use vegan cream cheese and whipped coconut cream; use maple or agave syrup instead of powdered sugar, and substitute cookie crumbs with gluten-free or nut-based crumbs.
Frequently Asked Questions
Can I use frozen strawberries?
It’s best to use fresh, firm strawberries. Frozen berries tend to release too much water when thawed, which can make the filling soggy and the berries collapse.
Do I need to hollow out each berry?
Yes — carving a small well gives the filling a place to sit and helps the berry stay upright. Some simpler versions skip deep hollowing and just pipe onto the flat cut surface, but the “well” version gives a more polished look.
How far ahead can I prepare them?
You can make the filling ahead and keep it refrigerated up to two days. But ideally fill the strawberries shortly before serving to preserve texture and avoid sogginess.
How long do filled berries keep?
Once filled, they’re best served within 24 hours and stored in the fridge. After longer storage, the strawberries may release moisture and the filling may soften or separate slightly