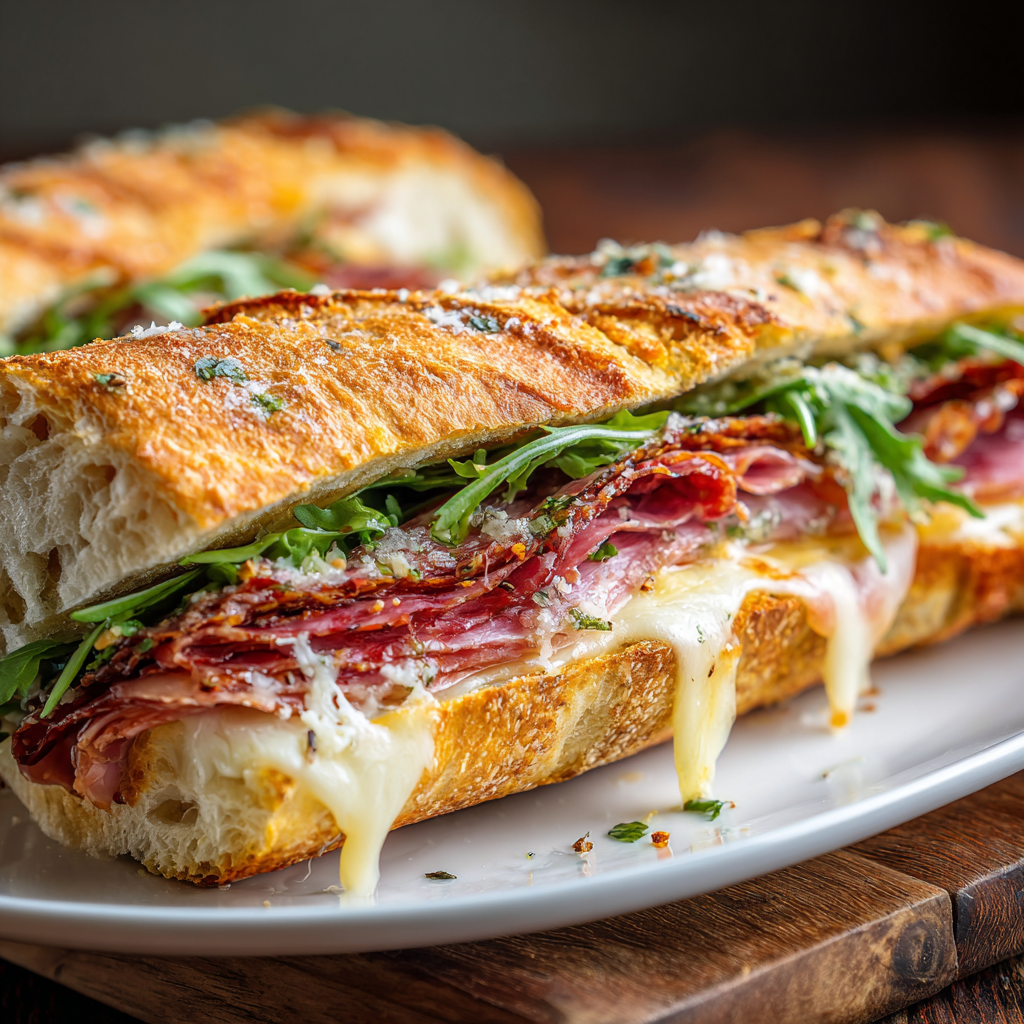
There’s a special kind of comfort that comes from biting into a sandwich that’s warm, cheesy, and packed with savory Italian flavors. These Baked Italian Sub Sandwiches take all the best parts of a classic deli sub — layers of flavorful Italian meats, crisp veggies, tangy pickles, savory peppers, and gooey melted cheese — then bake it all until the bread is golden and the cheese is perfectly molten. The aroma of garlic, herbs, and toasty bread fills the kitchen as soon as they come out of the oven, and one bite into the warm, melty layers makes every meal feel like a celebration.
Perfect for family dinners, casual gatherings, or game-day spreads, these sandwich subs bring people together. They’re hearty, satisfying, and packed with flavor — a cozy twist on an Italian favorite that’s as delicious as it is nostalgic.
Why You’ll Love This Recipe
- Bold Italian flavors — cured meats, savory cheese, and tangy peppers combine for a rich, layered taste.
- Golden, toasted exterior — bread gets crisp around the edges while staying soft inside.
- Melty, gooey cheese center — every bite delivers that classic sandwich satisfaction.
- Crowd-pleasing and shareable — perfect for feeding a group or enjoying as a weeknight special.
- Customizable to taste — easily swap meats, cheeses, or toppings.
- Simple assembly & bake method — minimal prep, maximum payoff.
Ingredients
(Makes about 4–6 substantial sandwiches)
Sandwiches
- 4–6 sub rolls (hoagie, torpedo rolls, or Italian sandwich rolls), split lengthwise
- 200–250 g sliced ham (thin deli ham)
- 200–250 g sliced salami (or your favorite Italian cured meats like capicola or pepperoni)
- 200–250 g sliced provolone or mozzarella cheese
- 1 cup shredded mozzarella (for topping)
- 1 small red onion, thinly sliced
- 1 cup lettuce, shredded or torn
- 1–2 tomatoes, thinly sliced
- Pickled hot peppers (banana peppers or pepperoncini), to taste
- Salt and freshly ground black pepper, to taste
Seasoned Butter Drizzle
- 4 tablespoons unsalted butter, melted
- 2 cloves garlic, minced
- 1 teaspoon Italian seasoning
- ½ teaspoon dried oregano
- ½ teaspoon dried parsley
- Pinch of red pepper flakes (optional)
Instructions
1. Preheat Oven
Preheat your oven to 190 °C (375 °F). Line a baking sheet with parchment or lightly grease it.
2. Prepare the Seasoned Butter
In a small bowl, whisk together melted butter, minced garlic, Italian seasoning, oregano, parsley, and red pepper flakes if using. Set aside — this will brush the bread and infuse every bite with aromatic flavor.
3. Assemble the Subs
- Slice each sub roll in half lengthwise, but not all the way through — leave a hinge so the fillings stay nestled inside.
- Place the rolls open-faced on your baking sheet.
- Layer ham, salami, and provolone (or mozzarella) inside each roll.
- Add red onion slices, tomato slices, and pickled hot peppers over the meat and cheese. Season lightly with salt and pepper to taste.
4. Drizzle with Garlic Butter
Using a brush or spoon, drizzle the seasoned garlic butter over the top edges of the bread and lightly over the fillings — this will help the bread toast and gives every bite rich, buttery flavor.
5. Top with Shredded Mozzarella
Sprinkle a generous handful of shredded mozzarella over the open sandwiches. The cheese will melt into the layers and turn beautifully golden in the oven.
6. Bake Until Golden and Melty
Bake in the preheated oven for 12–15 minutes, or until the cheese has melted and turned bubbly, and the edges of the bread are crisp and golden. For a more toasted top, switch to broil for the last 1–2 minutes (watch closely to avoid burning).
7. Finish and Serve
Remove from the oven and let cool for a couple of minutes — the cheese will settle and make slicing easier. Serve warm, either whole or cut in half, with extra pickled peppers or your favorite sandwich condiments on the side.
You Must Know (Helpful Tips)
- Choose sturdy rolls — bread with a slightly crisp crust holds up to baking and juicy fillings without getting soggy.
- Layer meats and cheese evenly — even distribution ensures each bite has balanced flavor and texture.
- Don’t overload veggies — too many juicy slices (especially tomatoes) can make the sandwich soggy; layer thoughtfully.
- Brush enough seasoned butter — butter gives flavor and helps the bread achieve a golden, toasty finish.
- Watch the cheese under the broiler — a quick broil adds great color, but it can go from perfect to burnt fast.
- Rest briefly before slicing — gives melted cheese a moment to set so the sandwich holds together.
Storage & Reheating
- Refrigerator: Store any leftovers in an airtight container for 2–3 days.
- Reheating (best): Reheat in the oven at 180 °C (350 °F) for about 8–10 minutes to restore crispiness and warm the fillings.
- Microwave (quick): Works in a pinch, but bread may become softer. Warm in short intervals to avoid sogginess.
Ingredient Substitutions & Variations
- Meat choices: Swap or add roasted turkey, prosciutto, capicola, or Genoa salami for more variety.
- Cheese swaps: Swiss, fontina, or a blend of provolone and mozzarella brings a different melt and flavor.
- Vegetarian version: Replace deli meats with grilled mushrooms, roasted peppers, and artichoke hearts for savory texture.
- Herb boost: Sprinkle fresh basil or oregano over the fillings before baking for a bright, aromatic note.
- Spicy kick: Add sliced jalapeños or a drizzle of hot honey or sriracha for heat.
Serving Suggestions
- Serve with crispy potato chips or fries for a classic sandwich meal.
- Pair with coleslaw, caesar salad, or caprese salad for a refreshing side.
- Offer pickles and olives on the side for extra briny contrast.
- Serve with marinara or ranch dip for dunking any cheesy bits.
Pro-Tips
- Toast rolls lightly before assembling if you like extra structural strength — it helps prevent them going too soft in the oven.
- Layer cheese both under and over the meats — creates a cheesy buffer that keeps meat juices from making the bread soggy.
- Warm ingredients slightly before baking — room-temperature fillings heat more evenly and reduce bake time.
- Use fresh spices in the garlic butter — dried herbs are convenient, but fresh parsley and oregano take flavor to the next level.
Frequently Asked Questions (FAQ)
Q: Can I make these sandwiches ahead and bake later?
A: Yes — assemble them on the baking sheet, cover tightly, and refrigerate up to a few hours before baking. Brush with garlic butter again just before baking for best flavor.
Q: My bread got soggy — what can I do next time?
A: Try lightly toasting the cut sides of the rolls before layering the fillings. Also moderate juicy ingredients like tomatoes and add them after baking if needed.
Q: Can I use gluten-free rolls?
A: Absolutely — just choose sturdy gluten-free buns that will hold up to baking and fillings.
Q: How do I get extra crisp edges?
A: After baking, switch the oven to broil for 1–2 minutes and watch closely until the cheese bubbles and browns.
Q: What’s the best way to serve leftovers?
A: Warm them in the oven or toaster oven to restore the crispiness rather than microwave, which can make the bread soft.
These Baked Italian Sub Sandwiches combine bold flavors and satisfying textures in every bite — savory meats, melty cheese, crisp, buttery bread, and vibrant toppings. They make mealtime feel special without extra effort. Enjoy!