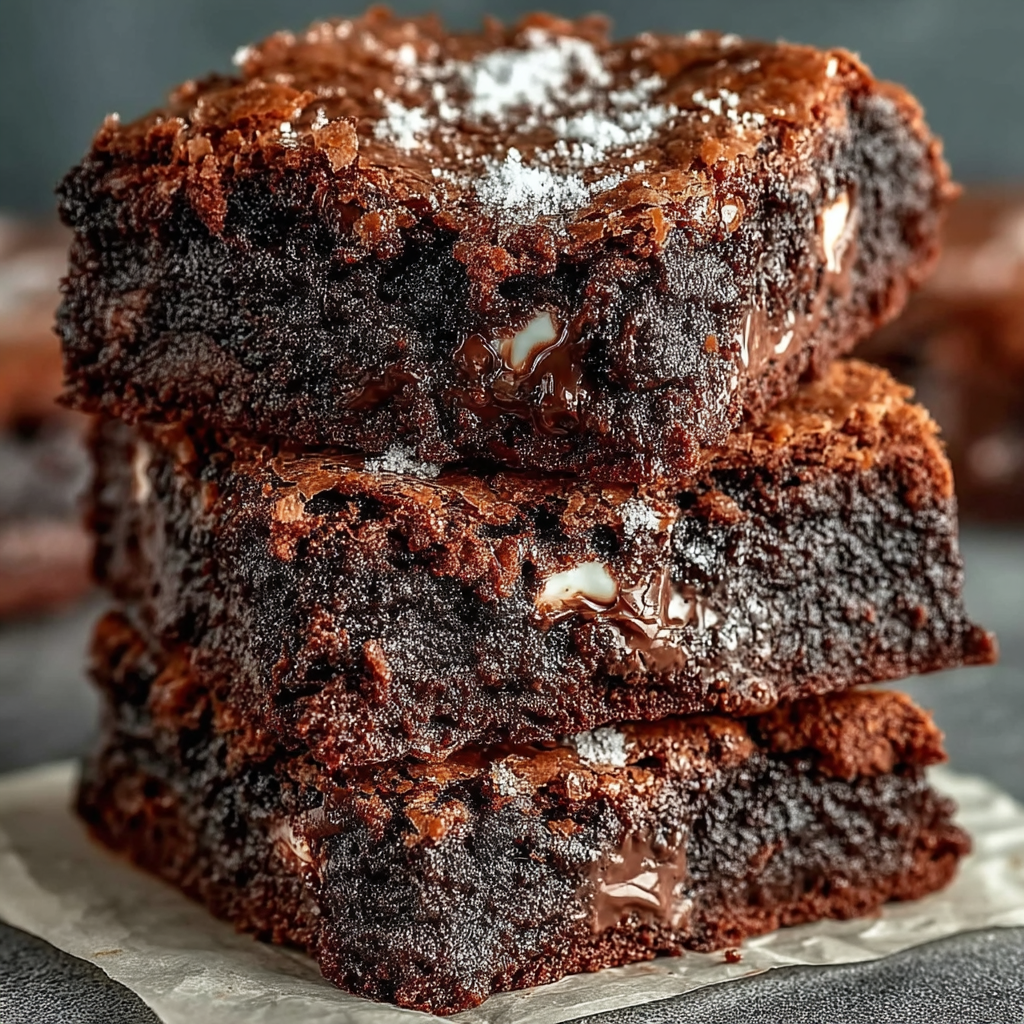
There’s a special kind of magic in a dessert that feels decadent and chocolatey — yet kind to your body, too. That’s exactly what happens when you make brownies using creamy Greek yogurt instead of lots of butter or oil. These brownies stay deeply chocolate‑rich and fudgy, with a moist, slightly dense crumb that melts on your tongue. The Greek yogurt adds subtle tang and soft chewiness, making each bite feel indulgent — but in a way that balances richness and comfort.
When I bake them, the whole kitchen smells like a chocolate dream: warm cocoa, melted chocolate, and a hint of yogurt whispering in the background. Once cooled, the brownies hold together beautifully — crispy edges, gooey center — perfect for slicing into squares or enjoying with a scoop of ice cream or a cup of strong coffee.
This recipe is ideal when you want classic brownie satisfaction but with a lighter twist. It’s easy, forgiving, and surprisingly crowd‑pleasing — even for people who don’t usually go for “healthier” desserts.
Why You’ll Love This Recipe
- Rich, fudgy texture — dense and chewy, with a soft center and slightly crisp edges.
- Moist yet lighter than traditional brownies — Greek yogurt keeps them tender while cutting down on excess fat.
- One‑bowl simplicity — minimal fuss, less cleanup, and straightforward preparation.
- Customizable and forgiving — easy to add mix-ins (nuts, chocolate chips), swap ingredients, or adjust sweetness.
- Great for balanced treats — perfect when you crave chocolate but want something a bit lighter than classic butter‑heavy brownies.
- Versatile serving options — delicious plain, warmed with ice cream, or alongside coffee/tea.
Ingredients
(Makes about 9–12 brownies, depending on how large you cut them)
- ½ cup (≈ 85‑100 g) good-quality chocolate, chopped (dark or semi‑sweet works best)
- 1 cup plain or vanilla Greek yogurt, at room temperature (full‑fat gives richest results)
- ½ cup granulated sugar (white, cane, or you can substitute with brown sugar for a deeper flavor)
- ¾ cup (about 95 g) all-purpose flour (or gluten‑free 1:1 blend if preferred)
- ½ cup (≈ 50 g) unsweetened cocoa powder — sifted for best texture
- ½ teaspoon baking soda (or baking powder, if you prefer a slightly lighter crumb)
- ½ cup milk (any kind: cow, almond, oat) — helps loosen the batter and keep fudgy softness
- Optional add-ins: ½ – 1 cup chocolate chips or chunks, chopped nuts (walnuts, pecans, hazelnuts), a pinch of fine salt or espresso powder to deepen flavor
Instructions
- Preheat & prepare the pan
Preheat your oven to 350 °F (175 °C). Line an 8×8‑inch (or similar) baking pan with parchment paper or lightly grease it so brownies come out cleanly. - Melt the chocolate
Place chopped chocolate in a microwave‑safe bowl (or use a double boiler) and melt gently — stirring every 20‑30 seconds until smooth. Let it cool slightly (just warm to the touch). - Mix yogurt, sugar, and melted chocolate
In a large mixing bowl, combine the room‑temperature Greek yogurt, sugar, and the slightly cooled melted chocolate. Stir until silky and fully combined — this forms the fudgy heart of your brownies. - Add dry ingredients
Sift together the flour, cocoa powder, and baking soda. Then gently fold these into the chocolate‑yogurt mixture until just combined — don’t overmix. - Incorporate milk and optional add‑ins
Pour in the milk, stirring until the batter is smooth and glossy. If using, gently fold in chocolate chips or nuts now. - Transfer and bake
Pour the batter into your prepared pan, smoothing the top with a spatula. Bake for 25–30 minutes, or until a toothpick inserted in the center comes out with a few moist crumbs (the center should remain slightly fudgy — that’s key). - Cool completely
Let the brownies cool in the pan for about 10 minutes, then transfer to a wire rack to cool fully. Cooling allows the texture to set properly and makes cutting easier.
You Must Know (Helpful Tips)
- Use full‑fat Greek yogurt for the richest, fudgiest texture. Low‑fat works too, but the brownies might be slightly less gooey.
- Room‑temperature yogurt and melted chocolate help create a smooth, well‑combined batter — and avoid lumps.
- Don’t overmix once you add flour — overworking can make brownies dry or cakey.
- Check for doneness early — slightly under‑baked brownies often yield the best chewy, fudgy texture after cooling.
- Let them cool fully before slicing — the centers firm up a bit as they rest, giving clean, confident cuts.
Storage Tips
- Store cooled brownies in an airtight container at room temperature for up to 3–4 days.
- For longer storage, freeze individual squares in a sealed bag or wrapped in foil — they thaw beautifully and stay moist.
- If refrigerated, allow brownies to warm to room temperature (or warm slightly) before serving — cold can make them firmer and less gooey.
Ingredient Substitutions & Variations
- Flour-free / gluten-free option: Use a gluten-free all-purpose flour blend — texture will be slightly different but still delicious.
- Lower-sugar version: Replace sugar with coconut sugar, maple syrup, or a natural sweetener (adjust liquid accordingly).
- Dairy-free / plant-based option: Use a plant-based yogurt (thick, Greek‑style if possible) and a dairy‑free milk. Texture may be slightly lighter but still satisfying.
- Flavor boosts:
- Add a pinch of espresso powder to intensify chocolate flavor.
- Stir in chopped nuts for crunch.
- Swirl in a tablespoon of peanut butter or almond butter before baking for swirled peanut‑chocolate brownies.
- Sprinkle a little sea salt or flaky salt on top before baking for a salty‑sweet contrast.
Serving Suggestions
- Serve slightly warm with a scoop of vanilla ice cream — the contrast between warm brownie and cold ice cream is pure bliss.
- Pair with a cup of coffee or milk for a cozy dessert or afternoon treat.
- For a special touch: dust with powdered sugar, drizzle melted chocolate or caramel, or top with fresh berries.
- Package a few squares in a small box or bag for a lovely homemade gift — perfect for friends, family, or coworkers.
Pro Tips
- For cleanest squares, wait until brownies have cooled completely before slicing — warm brownies can crumble when cut.
- If you like a denser, fudgier texture, underbake slightly (by 2–3 minutes); if you prefer more cake‑like, bake a bit longer.
- Use parchment paper overhang when lining your pan — this makes removing brownies super easy, without cracking edges.
- For larger gatherings, double the recipe and bake in a 9×13‑inch pan — you may need to adjust bake time slightly (add 5–7 minutes).
Frequently Asked Questions (FAQ)
Why use Greek yogurt instead of butter or oil?
Greek yogurt adds moisture and richness while reducing the amount of fat — yielding brownies that are fudgy and indulgent, but a bit lighter than traditional ones.
Will these brownies taste tangy because of the yogurt?
Not really — the chocolate flavor dominates. The yogurt’s tang is subtle and helps deepen flavor and texture rather than make them taste sour.
Can I use non‑dairy yogurt or milk?
Yes — a thick, plain plant‑based yogurt works fine, and you can use plant-based milk. Texture will be slightly different (a bit lighter or less rich), but still tasty.
My brownies turned out too cake‑like — what went wrong?
Likely overmixing after adding flour or baking too long. Also, too little yogurt or chocolate can make the batter less fudgy, more cake‑like.
How do I know when the brownies are done?
Insert a toothpick — you want a few moist crumbs in the center, not a dry toothpick. The center should still look soft — it firms up as brownies cool.
Can I add nuts or extra chocolate?
Absolutely. Chopped nuts, chocolate chips or chunks, or even nut butter swirls make wonderful additions and add texture or extra richness.
These Greek Yogurt Brownies prove that you don’t always need butter‑heavy recipes to enjoy a deeply chocolatey, fudgy treat. With simple ingredients and easy steps, you get brownies that satisfy your sweet tooth while keeping things a bit lighter. Warm one up and enjoy — I hope each bite feels comforting and a little indulgent.