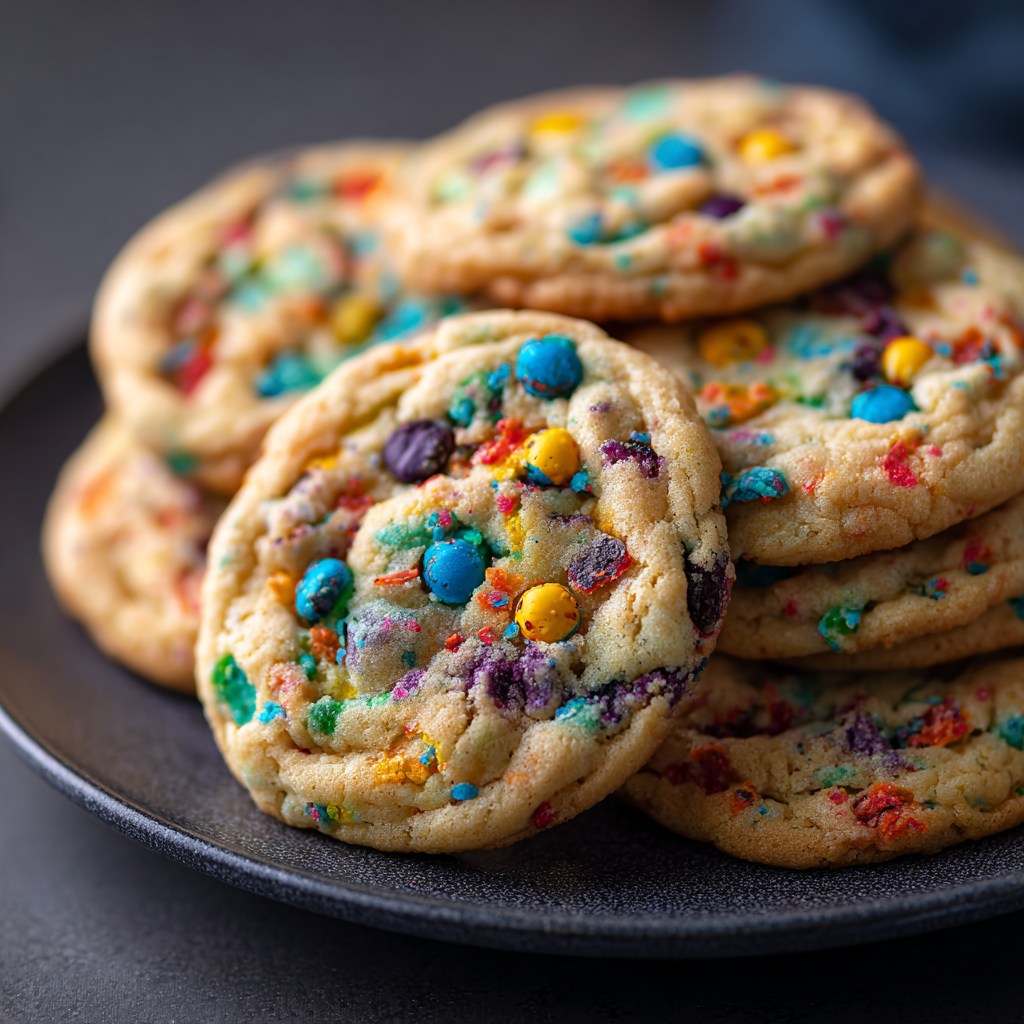
There’s something undeniably magical about those first crunchy bits of childhood breakfast cereal — the way they snap under your teeth and dissolve into bursts of fruity sweetness. Now imagine capturing that childhood joy in a warm, buttery cookie: cookies that are soft and tender on the inside, yet crackle with colorful cereal on the outside. These cookies bring together nostalgia and simple baking magic in a way that always makes people smile.
Each time I bake these, the kitchen fills with the buttery aroma of fresh cookies and a faint sweetness of the cereal’s fruity essence. The rainbow specks of cereal bring a playful surprise into every bite. Whether you’re dunking one in a glass of milk, packing them into lunch boxes, or offering them to friends after dinner, they feel like a small celebration — joyful, familiar, and full of delight.
These cookies are perfect when you want something more fun than plain sugar cookies. They’re bright, cheerful, and whimsical — yet easy to make, even if you’re a busy home cook. They’re the kind of treat that makes you pause, smile, and say, “Yes — I need one more.”
Why You’ll Love This Recipe
- Soft, tender cookie base with a buttery richness that melts in your mouth.
- Colorful cereal bursts that add fruity flavor and a fun crunch.
- Visually cheerful and festive — no icing or fancy decorating needed.
- Comforting nostalgia — ideal for kids, or to bring back childhood vibes for adults.
- Simple and approachable — great for beginner or experienced bakers alike.
- Versatile and crowd-pleasing — perfect for lunch boxes, after-school snacks, parties, or cozy nights in.
Ingredients
(Makes about 30 cookies)
- 1 cup (8 oz / ~227 g) unsalted butter, room temperature
- 1 ½ cups granulated sugar
- 2 large eggs, room temperature
- 1 tsp pure vanilla extract
- ½ tsp baking soda
- 3 cups (about 13 oz / ~390 g) all-purpose flour
- 1 cup cereal (e.g. fruit-flavored crunchy cereal — original inspiration uses fruity cereal) for the dough
- ¾ cup cereal (same kind as above) for rolling / coating the dough balls
Optional add-in
- ½ to 1 cup white chocolate chips — for a sweeter, creamier twist
Instructions
- Preheat the oven & prepare baking sheets
Preheat your oven to 325 °F (165 °C). Line two (or more) baking sheets with parchment paper. - Cream butter and sugar
In a large mixing bowl, beat the room-temperature butter and granulated sugar together on medium speed until the mixture becomes light, fluffy, and pale (about 2–3 minutes). This creates air pockets that help keep the cookies soft and tender. - Add eggs and vanilla
Beat in the eggs, one at a time, mixing just until each is incorporated. Then stir in the vanilla extract and baking soda until fully combined. Scrape down the bowl’s sides once or twice to ensure even mixing. - Add the flour, then the cereal
Gently mix in the flour until just combined — avoid overmixing, or the cookies can get dense. Once the flour is nearly incorporated, fold in 1 cup of cereal, carefully, so the pieces don’t crush too much. - Portion and coat dough balls
Using a cookie scoop or two-tablespoon measure, scoop dough into balls (about 2 Tbsp each). Place the remaining ¾ cup cereal in a shallow bowl or plate. Roll each dough ball in the cereal so that the outside gets coated and pressed gently so the cereal adheres. - Arrange and flatten lightly
Place the coated dough balls on the prepared baking sheets, leaving about 2 inches between each. Gently flatten each ball slightly with your fingertips — they won’t spread much, but this helps them bake evenly. - Bake
Bake for 13–15 minutes, until the edges are set and begin to turn golden. The centers might still look slightly soft — that’s fine. For even baking, swap the positions of the baking sheets halfway through the bake. - Cool
Let the cookies rest on the baking sheets for about 5 minutes after removing from the oven, then transfer them to a wire rack to cool completely. - Enjoy
These cookies are lovely warm, but they also develop a nice chewy — slightly crisp-edge texture once cooled.
You Must Know (Helpful Tips)
- Use room-temperature butter and eggs to ensure a smooth, homogenous dough.
- Don’t overmix after adding flour — overworking the dough can lead to tough cookies.
- Be gentle when folding in cereal, to avoid crushing the pieces; the goal is for pops of cereal color and texture.
- Rolling dough balls while slightly warm — but not hot — helps cereal stick better.
- If you want eyes-catching exterior crunch/color, reserve your brightest cereal bits for the coating step.
- Baking times can vary slightly based on your oven — start checking at 13 minutes.
Storage Tips
- Once fully cooled, store cookies in an airtight container at room temperature; they stay nice for up to 5 days.
- To keep them crunchy, place a small slice of bread in the container — it helps maintain moisture balance.
- You can also freeze unbaked dough balls (after rolling in cereal), then bake straight from frozen when ready — just add 1–2 extra minutes to bake time.
Ingredient Substitutions
- Cereal: Feel free to substitute with other crunchy, colorful cereals (or even chocolate-flavored ones) — this affects flavor and crunch slightly.
- Flour: You can try cake flour (for a more tender, delicate crumb), though cookies might spread a bit more.
- Add-ins: Mix in white chocolate chips, chopped nuts, or even a handful of mini marshmallows for a fun twist.
- Flavor variation: Try swapping vanilla extract for almond or citrus zest (lemon or orange) for a different flavor profile.
Serving Suggestions
These cookies shine on their own with a tall glass of cold milk — classic and comforting. They also make adorable ice-cream sandwiches: pair two cookies with a scoop of vanilla (or fruity) ice cream in between. For parties or festive occasions, serve them on a tray alongside other colorful snacks or treats, or let kids build their own “cereal cookie snack mix.”
Pro Tips
- For added chewiness, slightly under-bake by a minute or two — the centers will stay soft as they cool.
- If you want extra crunch, sprinkle a few extra cereal pieces on top of each cookie just before baking.
- Customize the look: use a mix of cereals for multicolor patterns, or choose a cereal with natural coloring for a more subtle effect.
- For a holiday vibe, try candy-colored or seasonal cereals, or add a sprinkle of coarse sugar before baking for a shimmering finish.
Frequently Asked Questions (FAQ)
Will the cereal stay crunchy after baking?
The cereal mixed inside the dough tends to soften as the cookie bakes, but the cereal coating on the outside keeps a nice crunch — giving you a lovely contrast between soft interior and crispy exterior.
Can I make this with gluten-free flour?
Yes — you can use a gluten-free all-purpose blend. Texture may vary a bit (possibly slightly more crumbly), but the fruity cereal should keep the cookies enjoyable.
Can I add chocolate chips or nuts?
Absolutely! White chocolate chips add creaminess and sweetness, while chopped nuts add texture and a nutty depth. Just fold them in along with the cereal.
My cookies spread too much / or not enough — what did I do wrong?
Overmixing the dough or using overly soft butter can cause too much spread. Also, if dough balls are too warm or large, cookies may flatten excessively. For firmer cookies, chill dough briefly or use slightly less butter.
Can I bake smaller cookies?
Yes — you can make smaller dough balls (1 Tbsp size) for bite-size cookies. They’ll bake faster (8–10 min), so watch them closely.
Can I make them ahead / freeze dough?
Yes — you can freeze unbaked, cereal-coated dough balls for up to 3 months. Thaw briefly and bake, adding 1–2 minutes to the bake time. Cookies also store well at room temperature for several days.